How to Setup a Pi-Hole Using a Raspberry Pi
Overview
Setting up a Pi-Hole on a Raspberry Pi is a great way to enhance your home network by blocking unwanted ads, tracking, and malware at the DNS level. Here's a step-by-step guide to get you started:
Requirements:
1. Raspberry Pi 3 (or newer)
2. MicroSD card (8GB or larger)
3. Power adapter for Raspberry Pi
4. Ethernet cable (to connect Raspberry Pi to your router)
5. Access to your router's settings
Step 1: Prepare your Raspberry Pi
1. Download the latest version of Raspberry Pi OS Lite (or version suited for your needs) from the official Raspberry Pi website.
2. Flash the Raspberry Pi OS Lite image onto your microSD card using a tool like BalenaEtcher or Raspberry Pi Imager. I used the imager from
3. Once flashed, insert the microSD card into your Raspberry Pi and connect it to your router via Ethernet. Power it up.
Step 2: Initial Configuration
1. Log in to your Raspberry Pi. The default username is "pi" and the default password is "raspberry".
2. Run `sudo raspi-config` to configure your Raspberry Pi. Expand the filesystem, set your timezone, and enable SSH for remote access (optional but recommended).
3. Reboot your Raspberry Pi for the changes to take effect.
Step 3: Install Pi Hole
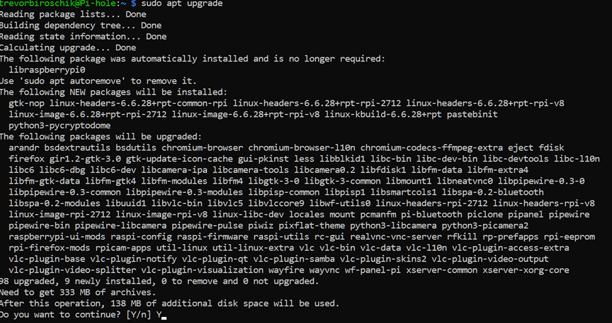
1. Update your Raspberry Pi's package lists and upgrade the installed packages by running:
This may take several minutes.
2. Install Pi Hole by running the following command (PLEASE RUN THIS AS SHOWN BELOW WITH SUDO. If ran without sudo, it might give you some trouble):
sudo curl -sSL https://install.pi-hole.net | sudo bash
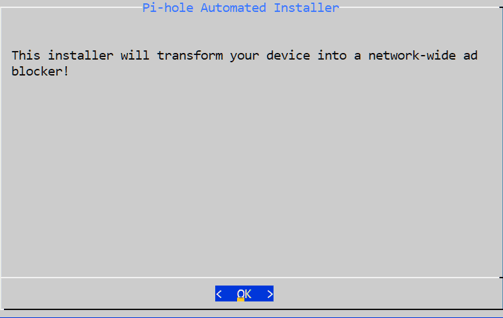
As this command runs you will encounter prompts along the way. The first one will notify you that your device will be transformed into a network-wide ad blocker. Click OK.
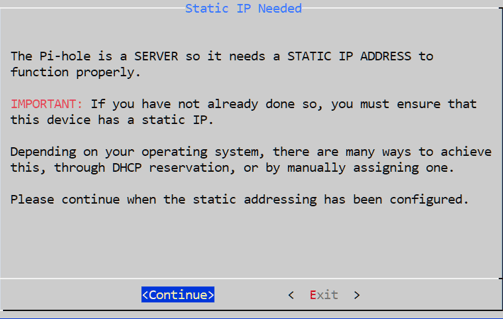
Next, it will ask you to set a static IP address for your device if you have not done so already. You can do this in your router settings by providing a DHCP reservation for said device or set a static one manually.
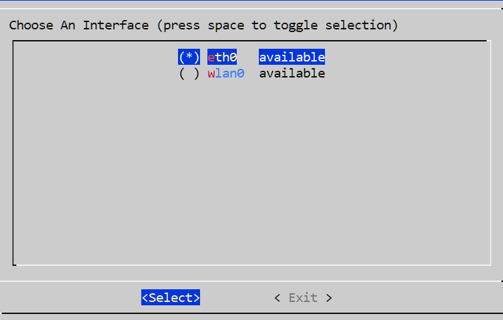
It’ll then ask you to select an available network adapter. Choose eth0 or whatever number yours may be given if not 0. Wlan0 is the wireless adapter.
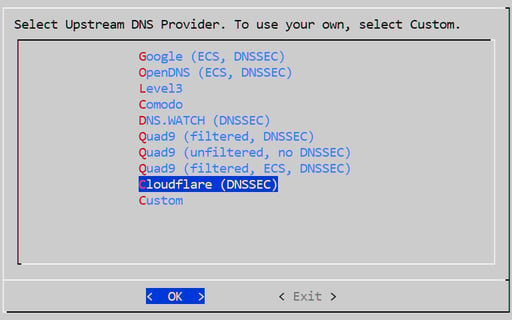
3. When prompted to choose a DNS provider, select your preferred option. I prefer Cloudflare for their privacy standards. You’re free to choose as you please.
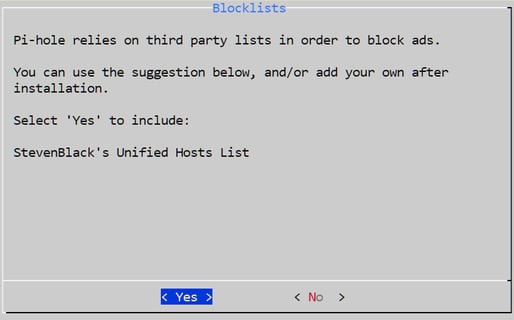
4. It’ll then prompt about blocklists and that it uses third party lists to block ads. Click Yes to add the list available. You will be able to customize this later if you so choose.
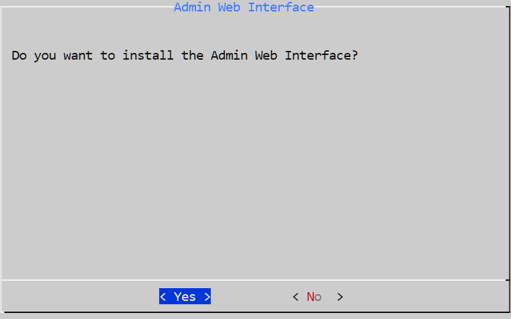
5. Click Yes to installing the admin web interface.
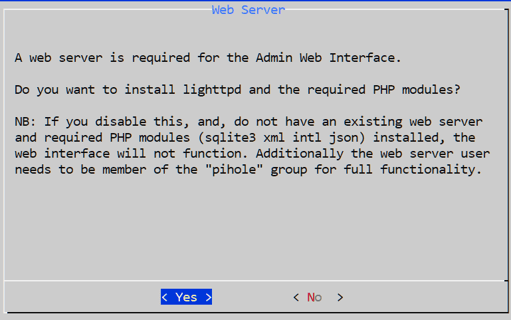
6. When it prompts about installing a web server, click yes unless you know what you’re doing.
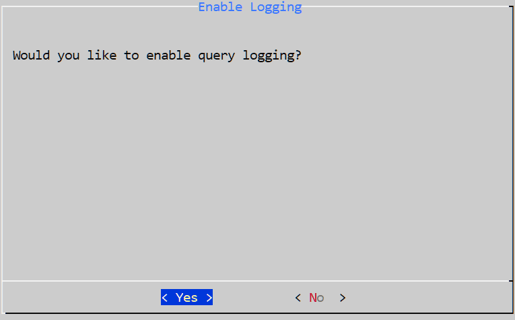
7. Enable query logging if you would like to log requests being filtered through your Pi-hole.
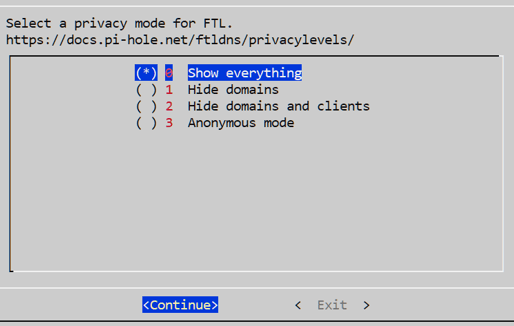
8. Choose your privacy mode for FTL (faster than light). If you choose to hide domains and clients, DNS logging will use unique, random hash identifiers within the logs instead of logging the query and IP addresses of the client device.
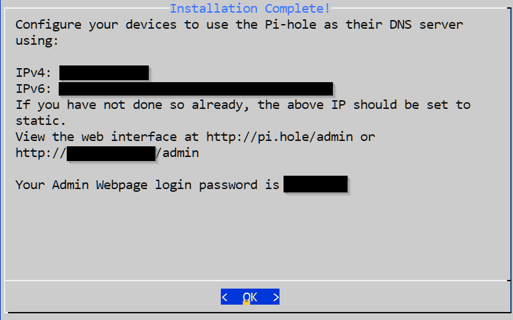
9. Once the installation is complete you will get a message with the details of your Pi-hole.
Step 4: Configure your Router
1. Access your router's settings. You can usually do this by typing your router's IP address into a web browser.
2. Find the DNS settings in your router's configuration menu.
3. Set the primary DNS server to the IP address of your Raspberry Pi (which you can find by running hostname -I on the Raspberry Pi).
4. Optionally, you can set the secondary DNS server to another DNS provider in case your Pi Hole goes down for any reason.
Step 5: Configure Pi Hole
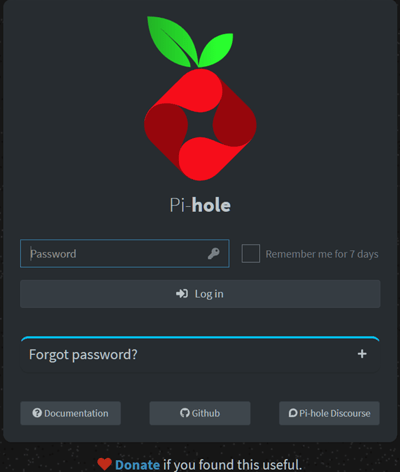
1. Open a web browser on any device connected to your network and navigate to http://pi.hole/admin. (You may need to set the DNS manually on the device you’re trying to access the admin page from).
2. Follow the on-screen instructions to complete the setup wizard. You can customize your blocklists, whitelist domains, and configure other settings according to your preferences. One of the first things I would recommend is changing your password. You can do so in the terminal using the following command: pihole -a -p
3. Once configured, Pi Hole will start blocking ads and tracking requests on your network automatically.
Step 6: Maintenance
1. Periodically check the Pi Hole admin interface to ensure everything is working correctly and to review any blocked queries.
2. Update Pi Hole and its blocklists regularly to stay protected against the latest threats. You can do this by running pihole -up (update) and pihole -g (runs gravity) respectively. You can also add additional blocklists if you want. There are lots to choose from in GitHub: https://github.com/topics/pihole-blocklists
**Please note, when adding blocklists from GitHub be sure to use the raw file link to import. Otherwise, Pi-hole may not pick up any domains from list. For example:
Use this. Note the “raw.” before the github user content.
https://raw.githubusercontent.com/blocklistproject/Lists/master/smart-tv.txt
With Pi Hole set up on your Raspberry Pi, you'll enjoy a faster, cleaner, and more secure browsing experience across all your devices on the network.
Step 7: Troubleshooting (If needed)
You may get an error message towards the end of the installation that says something like missing repository or could not update local repo or something along those lines.
Depending on what repo you’re missing, run the command for the repo that’s failing:
sudo git clone https://github.com/pi-hole/pi-hole.git /etc/.pihole
sudo git clone https://github.com/pi-hole/AdminLTE.git /var/www/html/admin
Only run this command below if the above command failed. Sometimes HTTPS fails and you have to use the git:// precursor instead.
sudo git clone git://github.com/pi-hole/AdminLTE.git /var/www/html/admin
Once one or both of those commands have run successfully, re-run the installation in step 3.2. If you are still receiving errors, you will need to re-install the Raspberry Pi image and start over. Otherwise, Google is your friend :) (sometimes).


